Shooting Zone Wide Open in the Streets
Photography is a two-dimensional art form—whether printed or digital, images appear in a flat plane on an X and Y axis. Depth, the perception that gives photos life, appears on a Z axis that cuts through the foreground, middle ground, and background layers of an image.
This dynamic can be achieved using light or composition, or both, to add the separation critical for creating depth. But the surest way to add depth to an image is to use sharp focus with an open aperture to create strong bokeh—the soft, rich blur in the out-of-focus areas of an image that accentuate a subject.
I often shoot stopped down to f/5.6 or f/8 in the streets (or f/11 or even f/16 in harsh direct light, especially when shooting film) in order to create images with several in-focus layers. But that also really depends on the scene actually having multiple things going on at different distances.
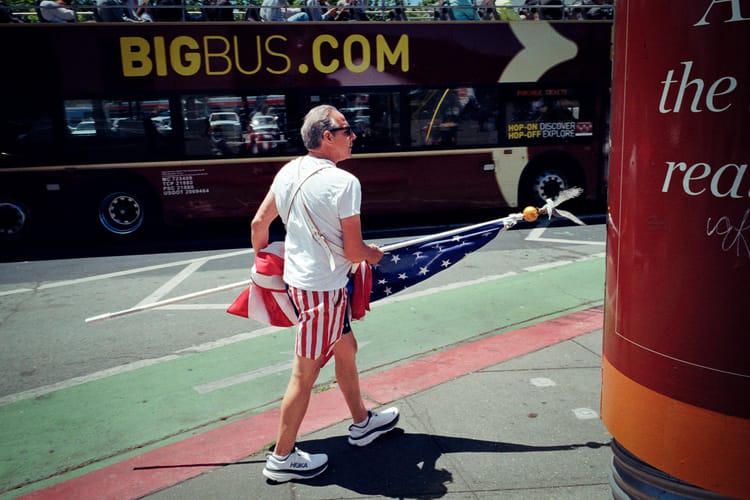
I really like the open aperture approach when I’m looking to create dynamic in wide open spaces with singular subjects, or to create separation in extremely tight spaces with lots going on, where I want draw individual subjects out of chaotic scenes. Shooting f/4 or even f/2.8 nicely slims that in-focus range—shooting at f/2 or below (if you have f/1.4 or f/.95 on a lens) is a real commitment to the approach, with a tight margin of error.
Shooting wide open on the move can be tricky business. The more open a lens’ aperture, the shallower the depth of field, and the more critical perfect focus becomes. Nail it, and you’ve got instant depth and dynamic created by rich creamy bokeh surrounding a sharp subject that immediately draws viewers’ eyes. Miss it and you’ve got pretty much nothing but soft visual mud.
The challenge with shooting wide open in the streets is that things move quickly. In the time it takes to adjust focus, the next shot can be gone before you're ready to press the shutter.
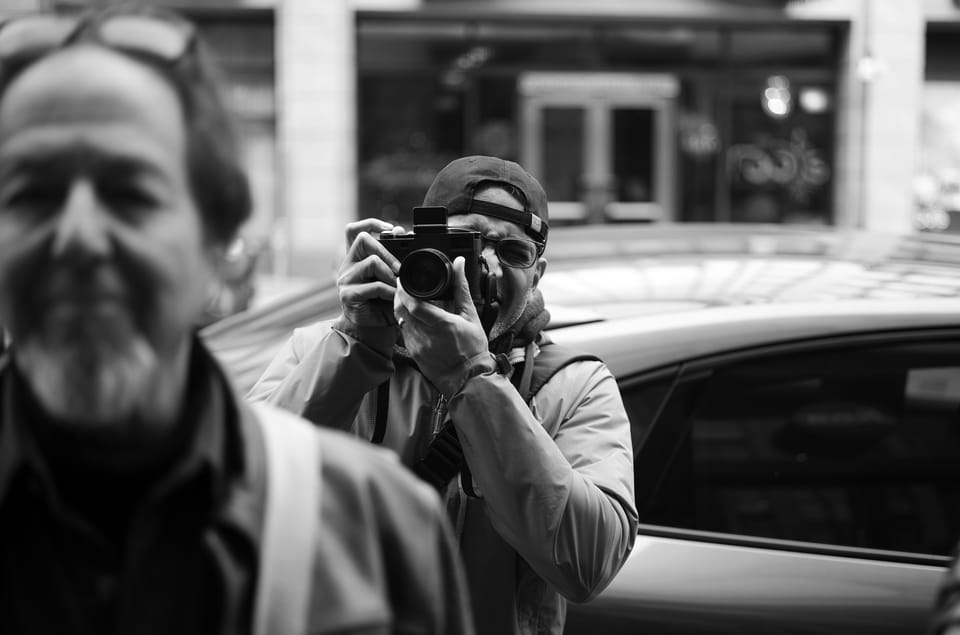
This is where zone focusing comes in: set the focus at a specific distance, set the aperture, assume these settings as locked and don’t touch the lens. The goal at this point is to make sure you can measure distance with your eye—it takes practice—so that when you’re within range of a subject, you can lift the camera, take the shot without hesitation, and keep moving.
I really only learned how to do this properly last year when I took a class at the Leica SF store, Leica.Connect In The Zone, taught by Leica Akademie instructor Phil Cuenco. Phil’s a good teacher and an amazing photographer, a true master of focus whose work includes a ton of sports and celebrity work, where being subtle, fast and accurate really matter.
Last year I did the class with my Leica MP. I shot two rolls of Kodak Tri-X on a dark, rainy Saturday afternoon around SantaCon, and was pretty happy with the results. Since then I’ve been using what I learned to increase my ability to move faster in the streets, and give my hit rate a bump. And while I’m not always shooting wide open, the zone technique works well at any aperture, especially when I want to quickly capture scenes with more in-focus layers.
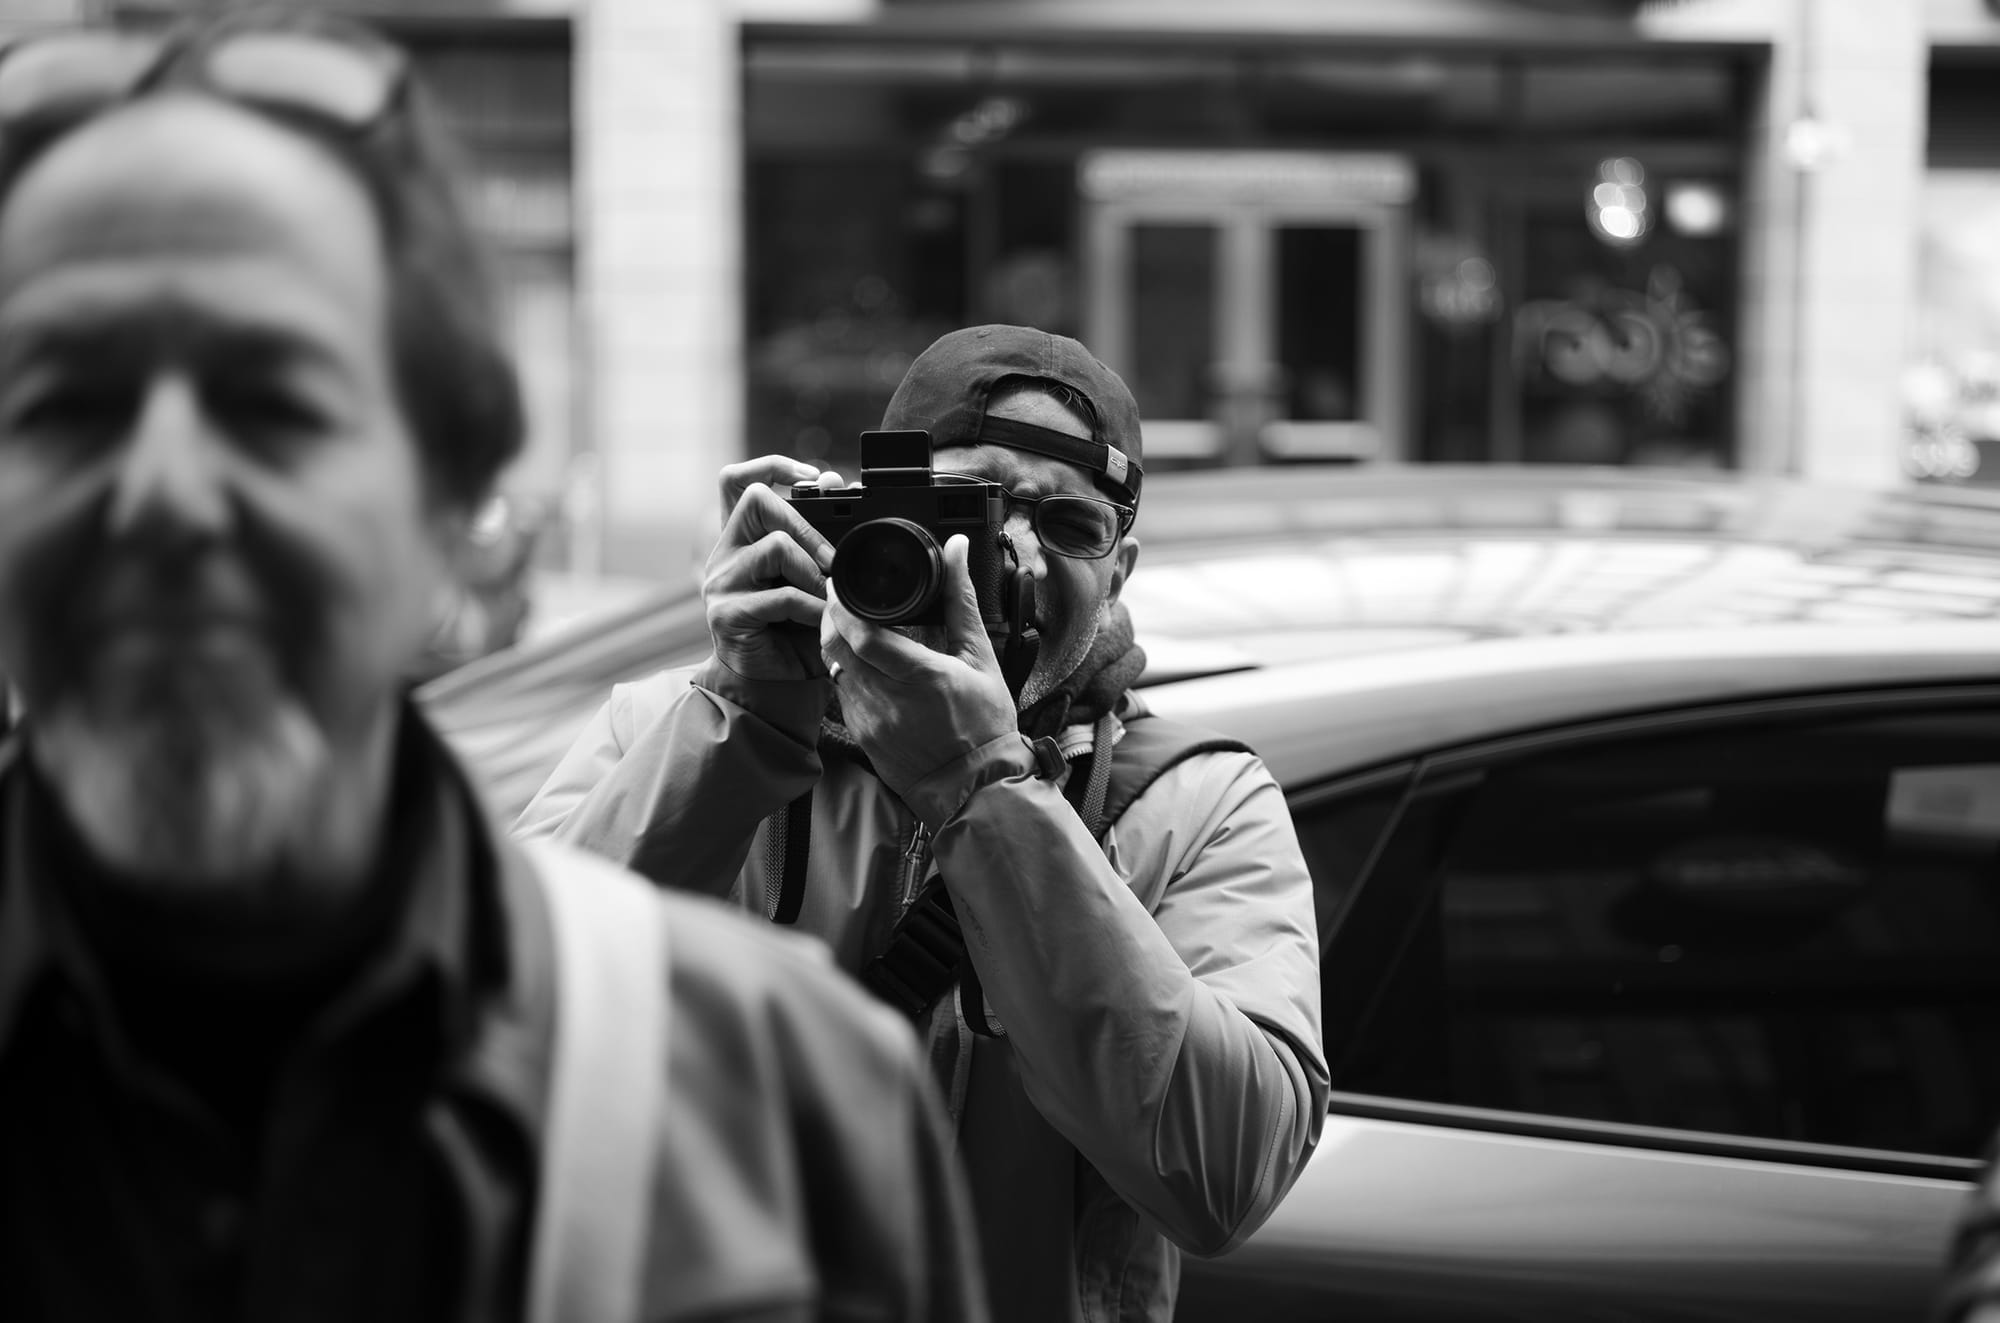
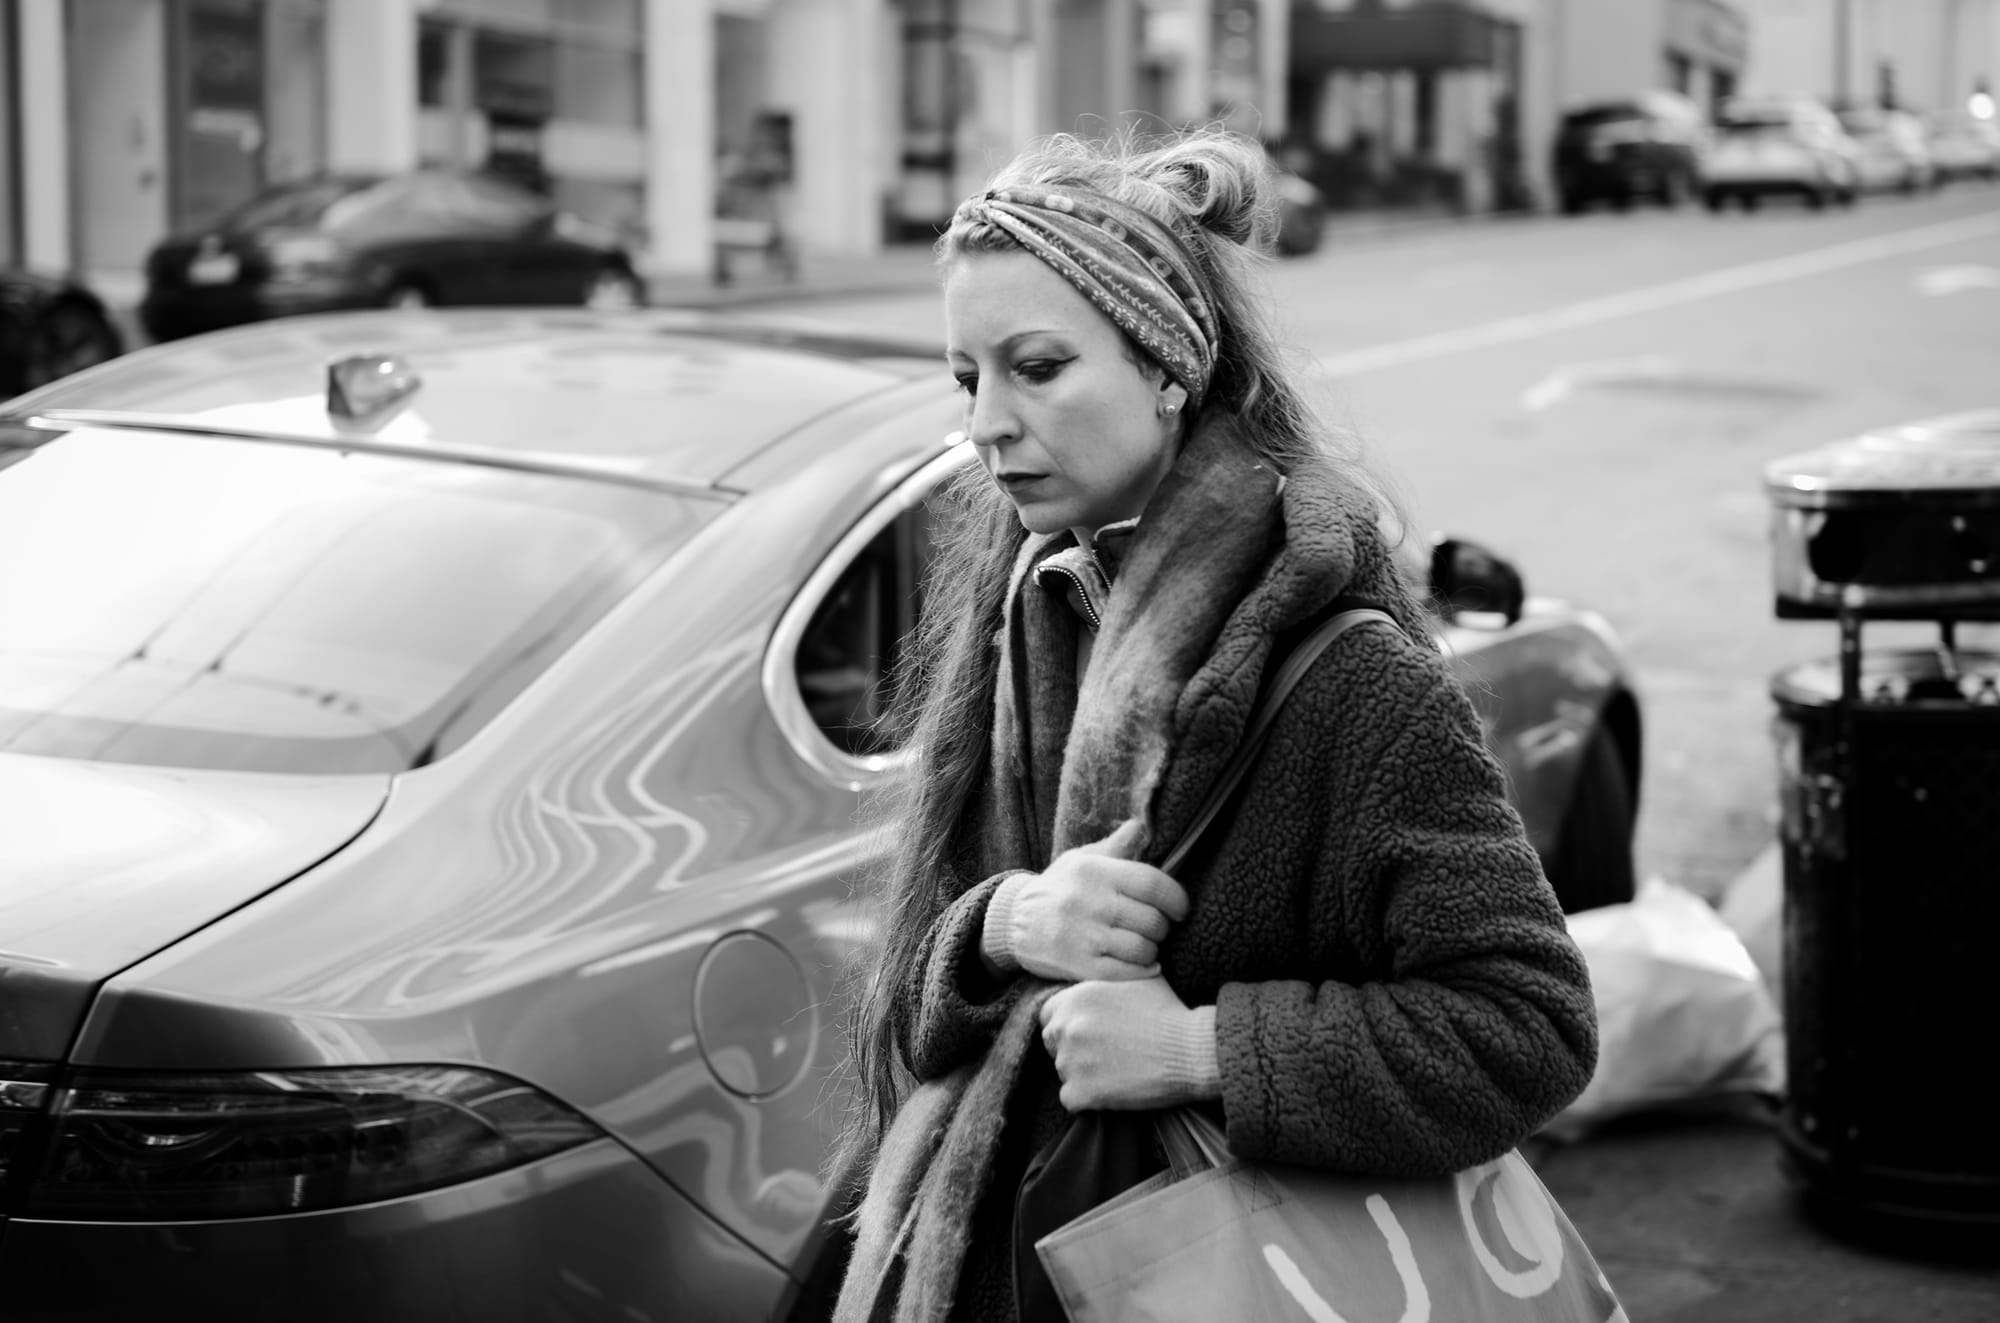
I decided to take the course again this year. It's free and runs for a few hours, it was a good refresher on the practice of zone shooting, and it was a great excuse to hit the streets with a small group of other photographers practicing the same technique. I took the digital M10 Monochrom this time, with the Summicron 50mm f/2, which I mostly shot wide open.
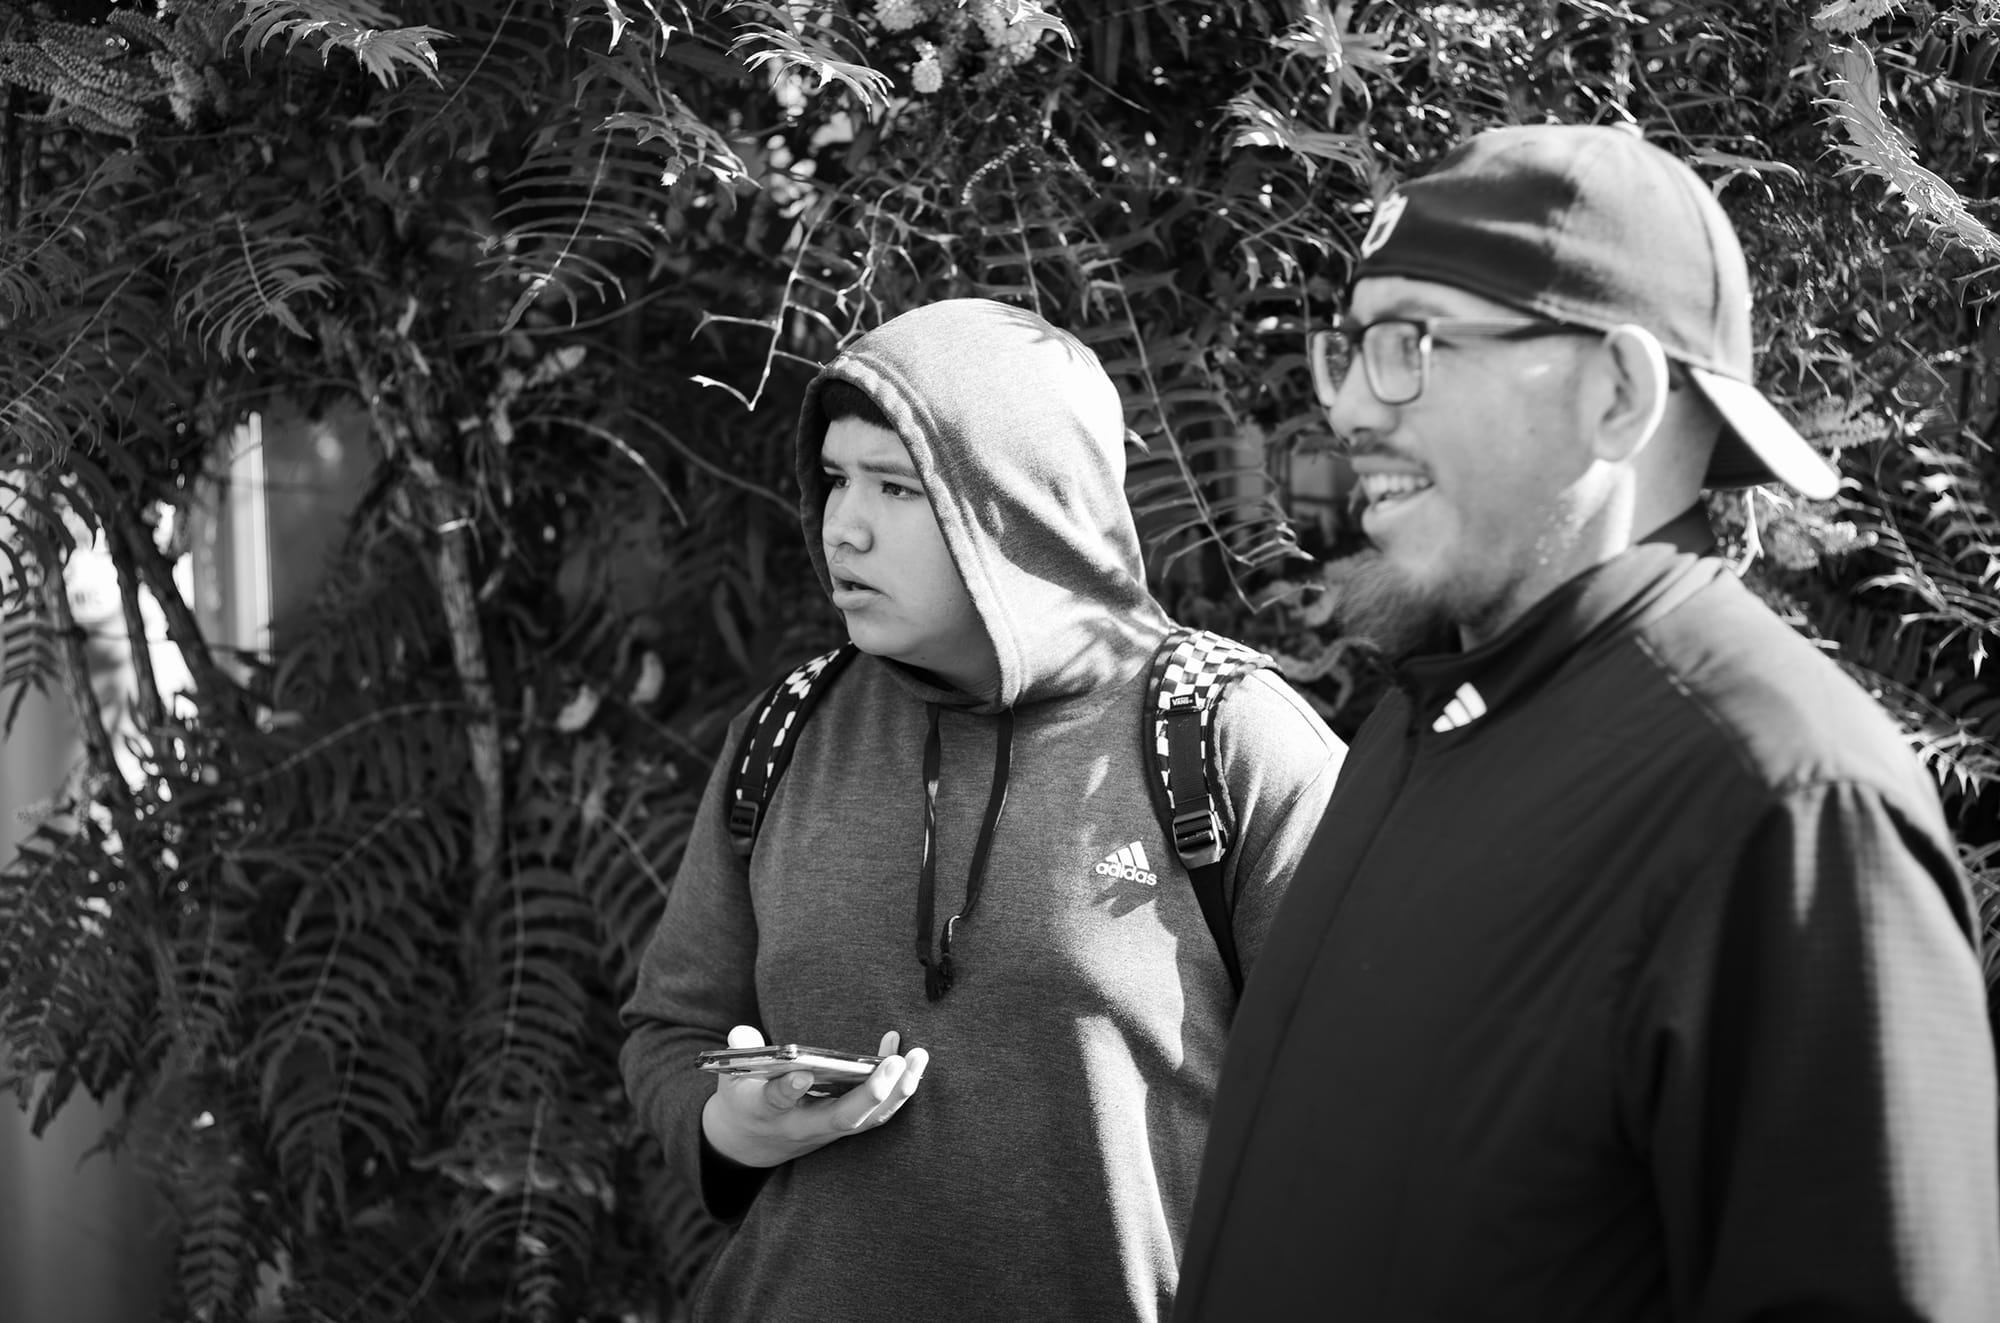
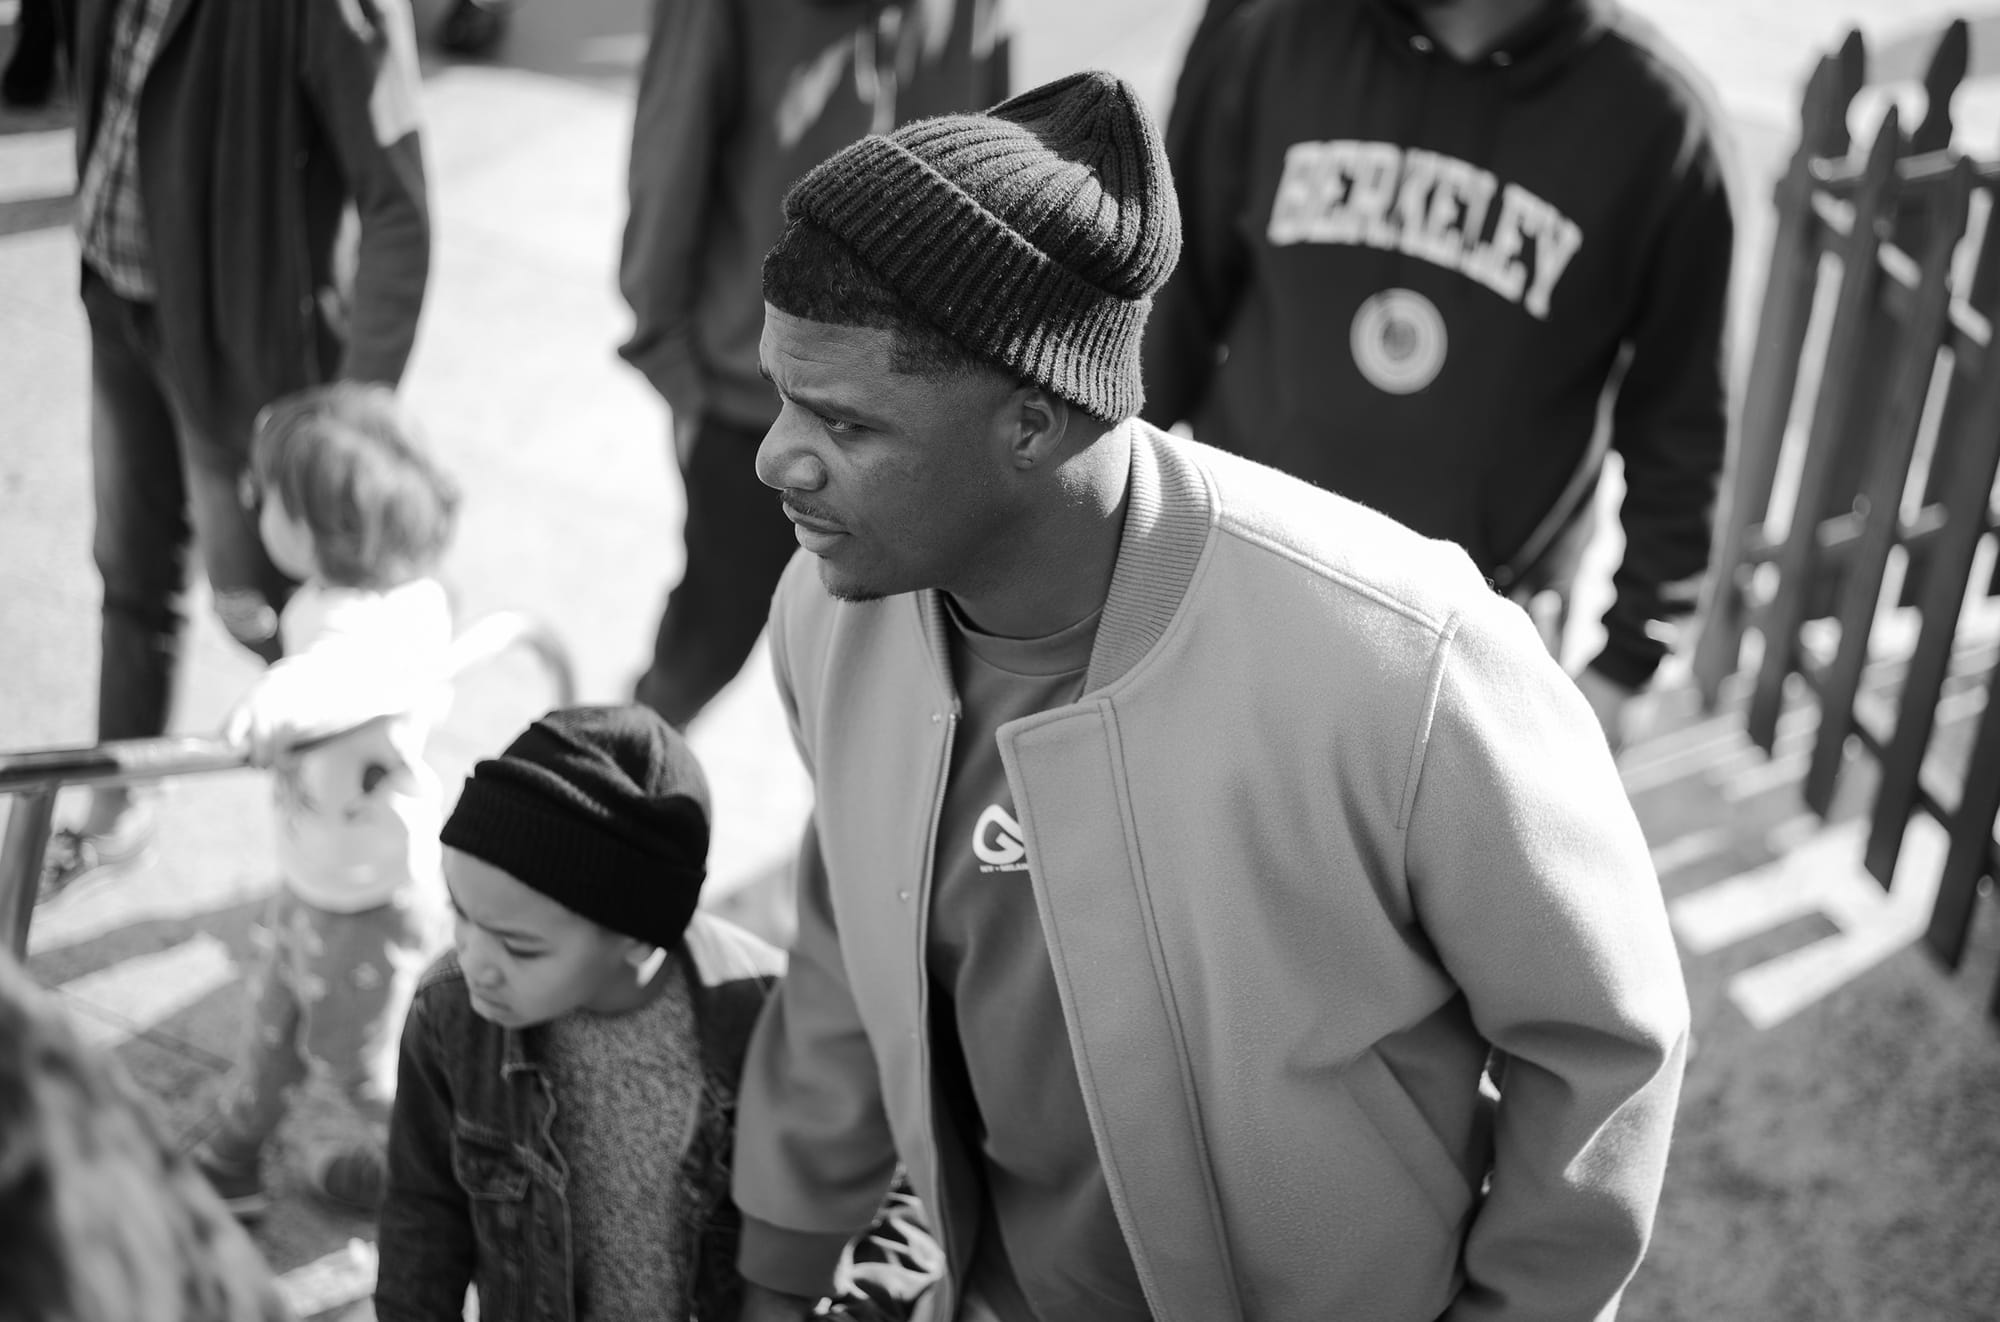
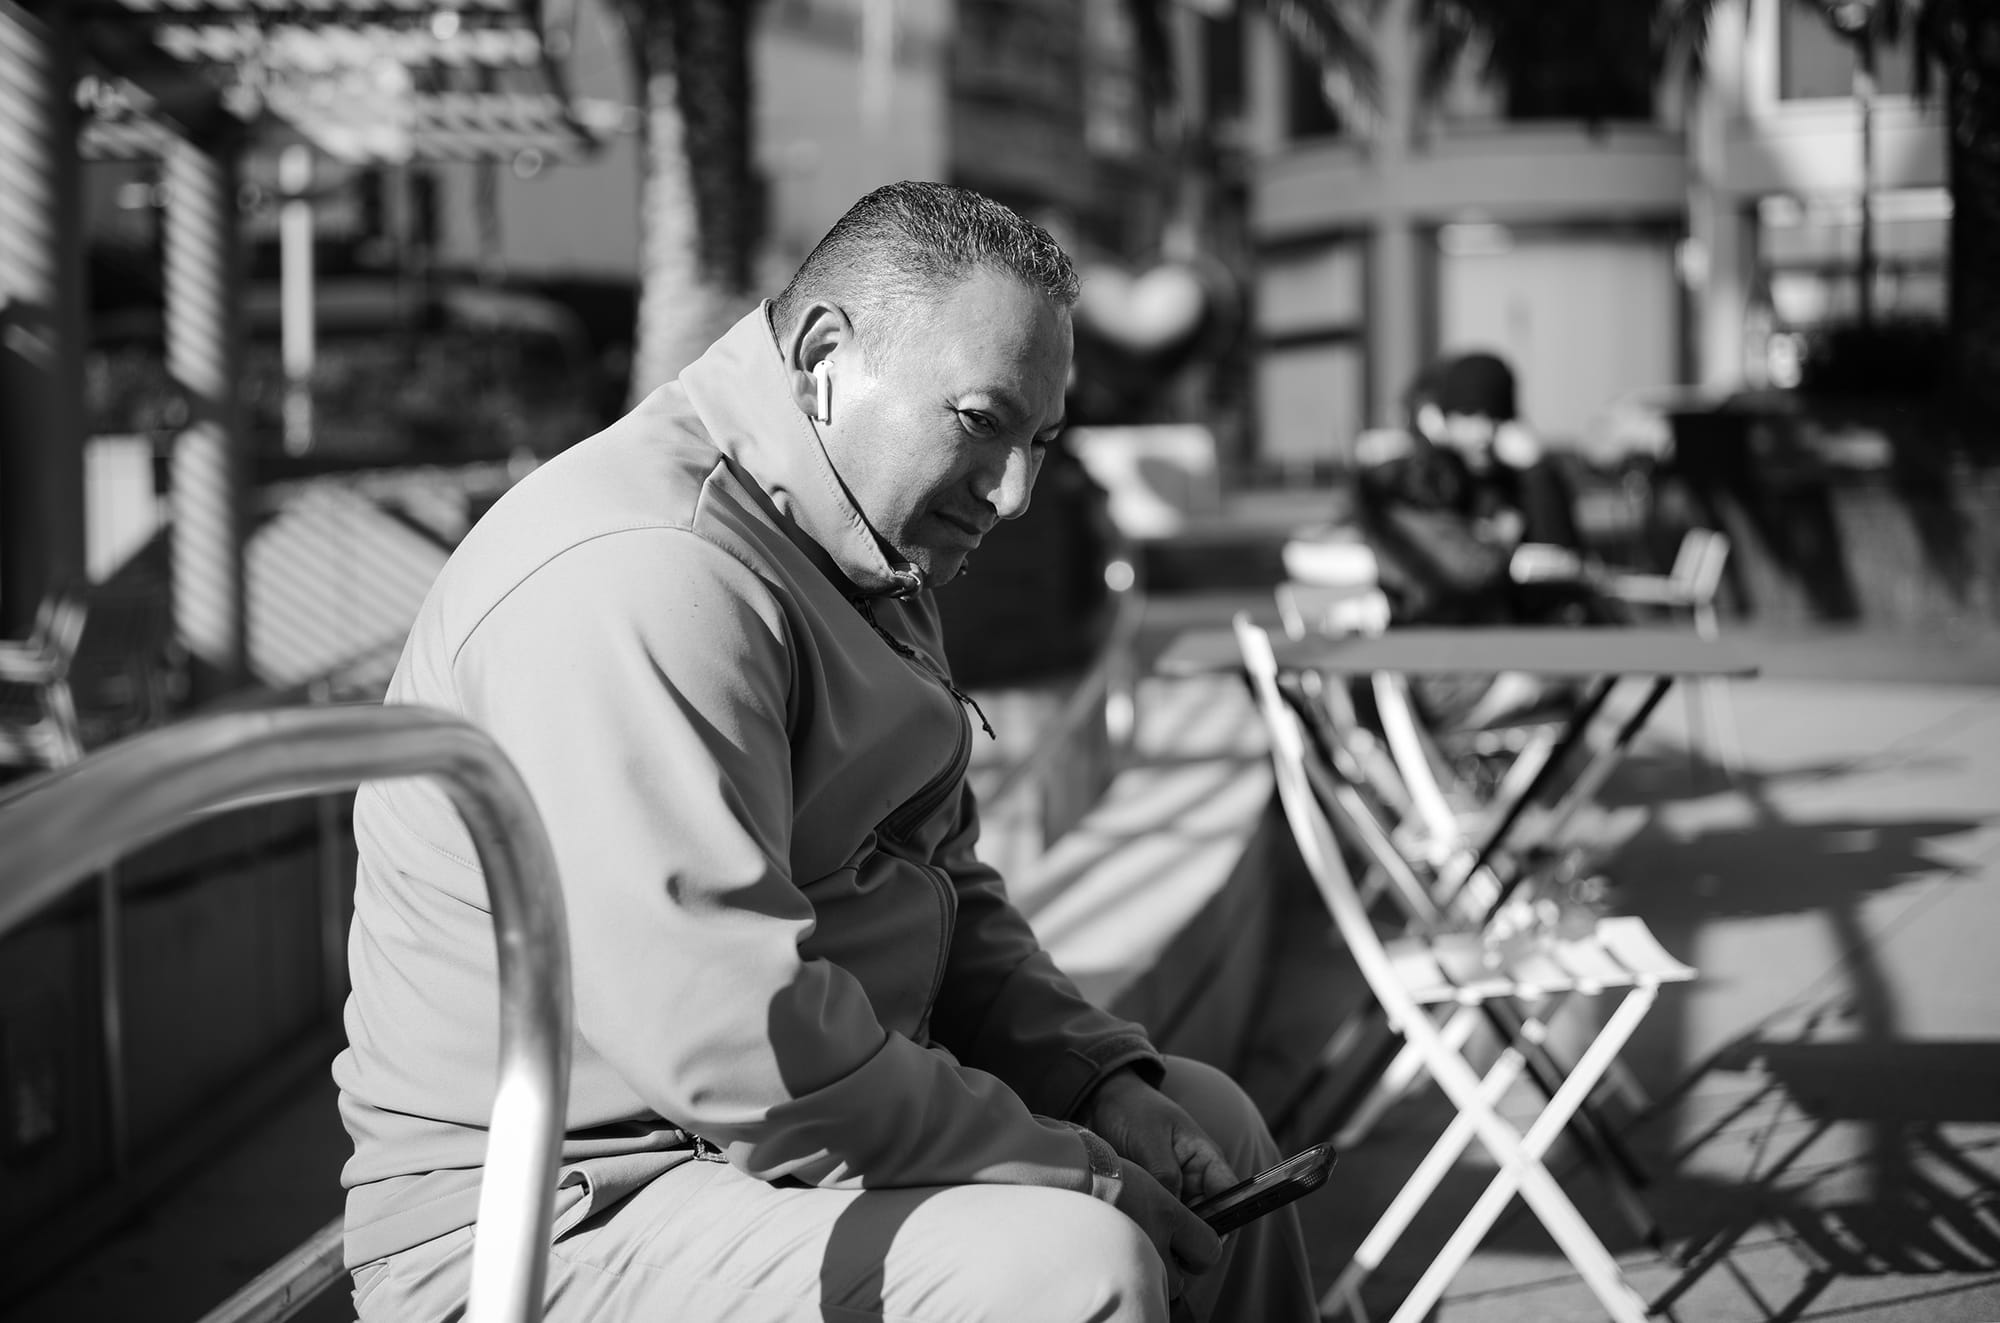
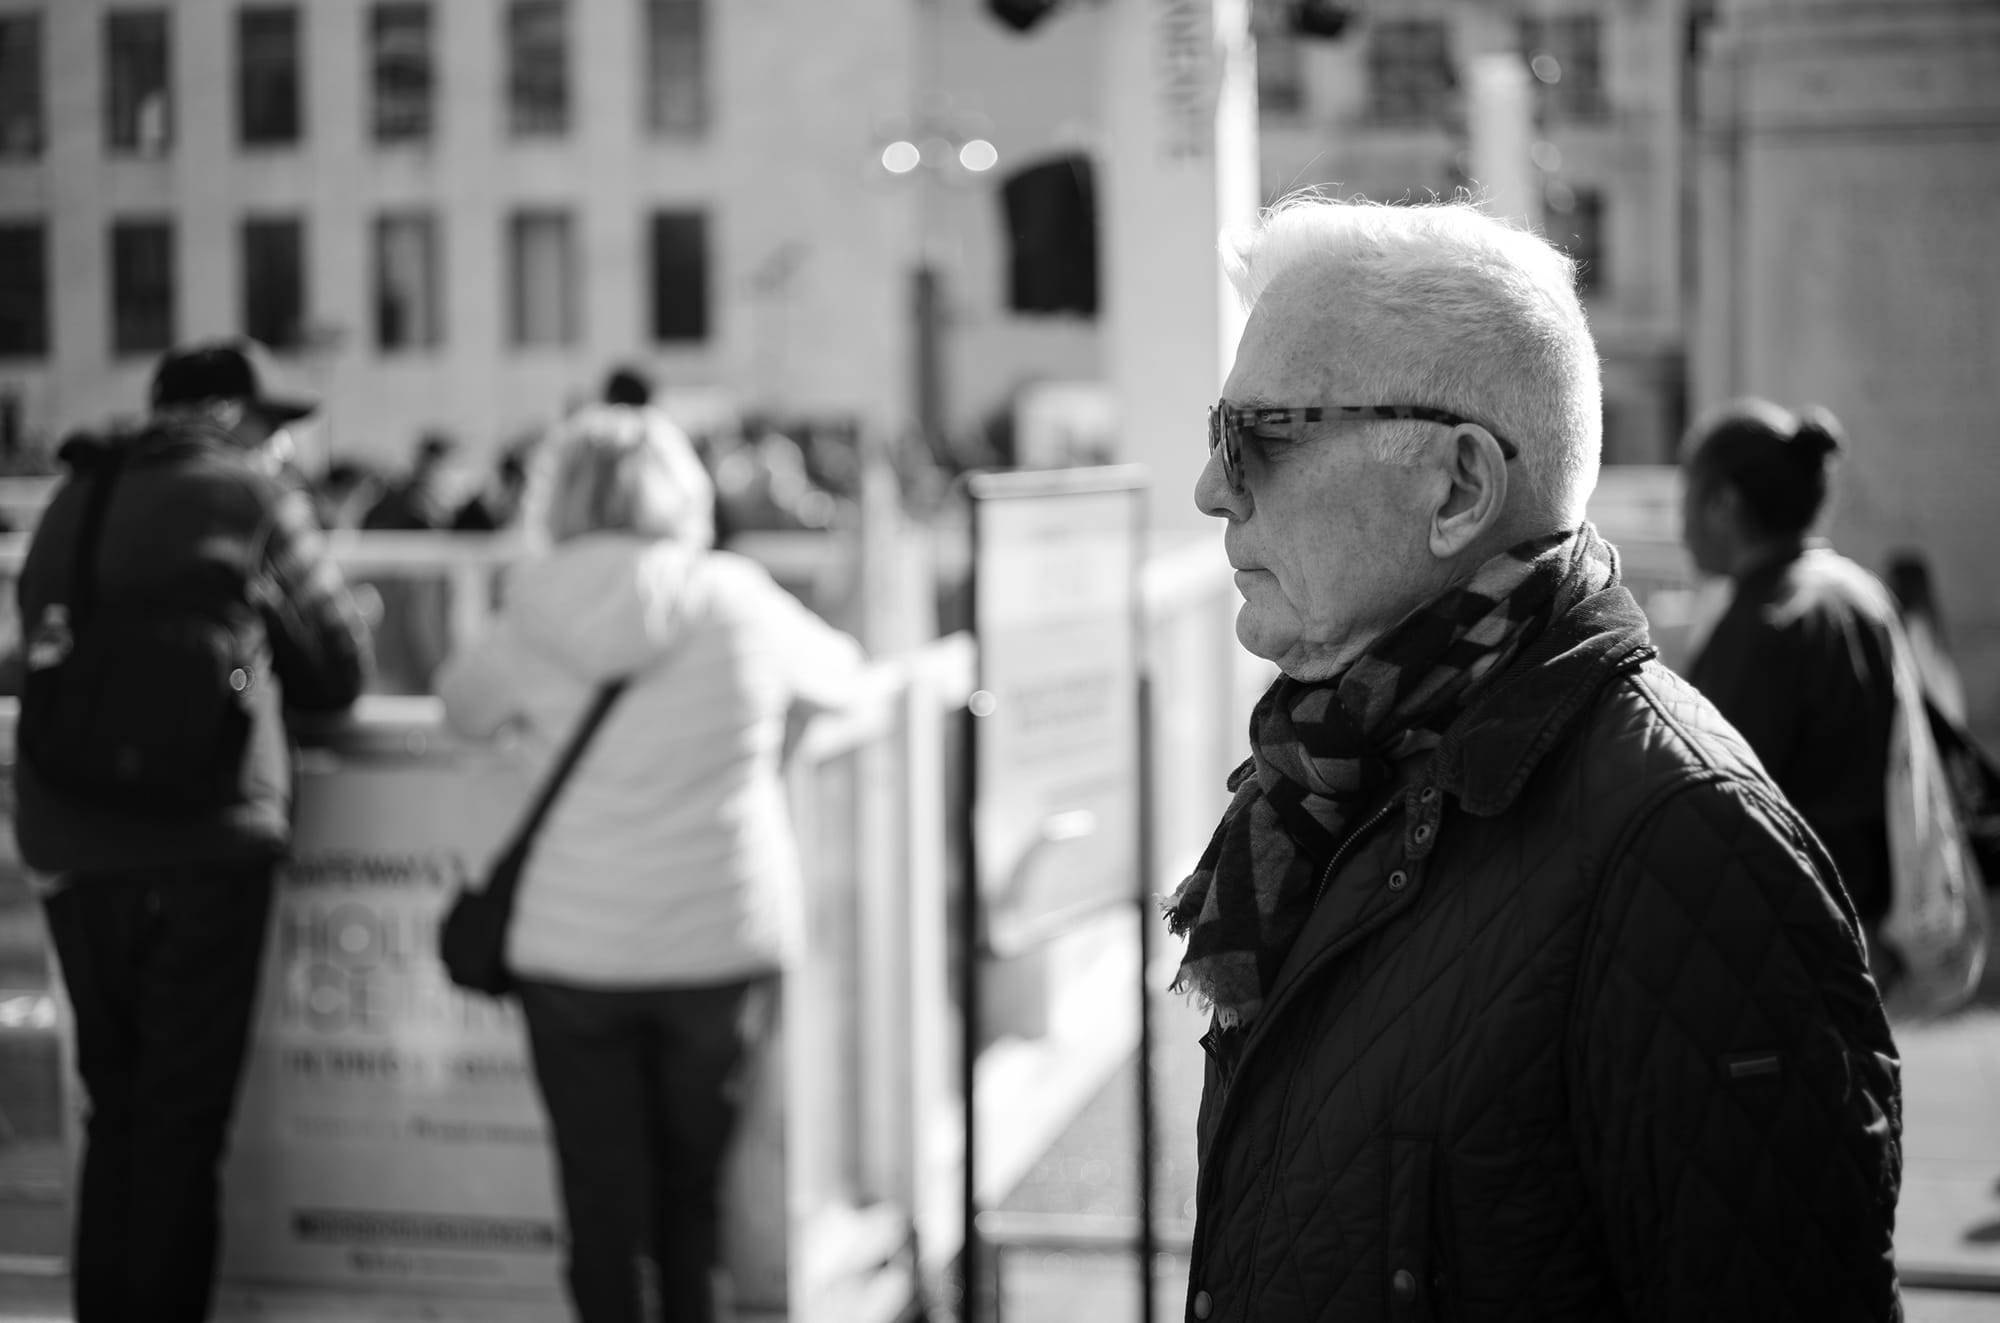
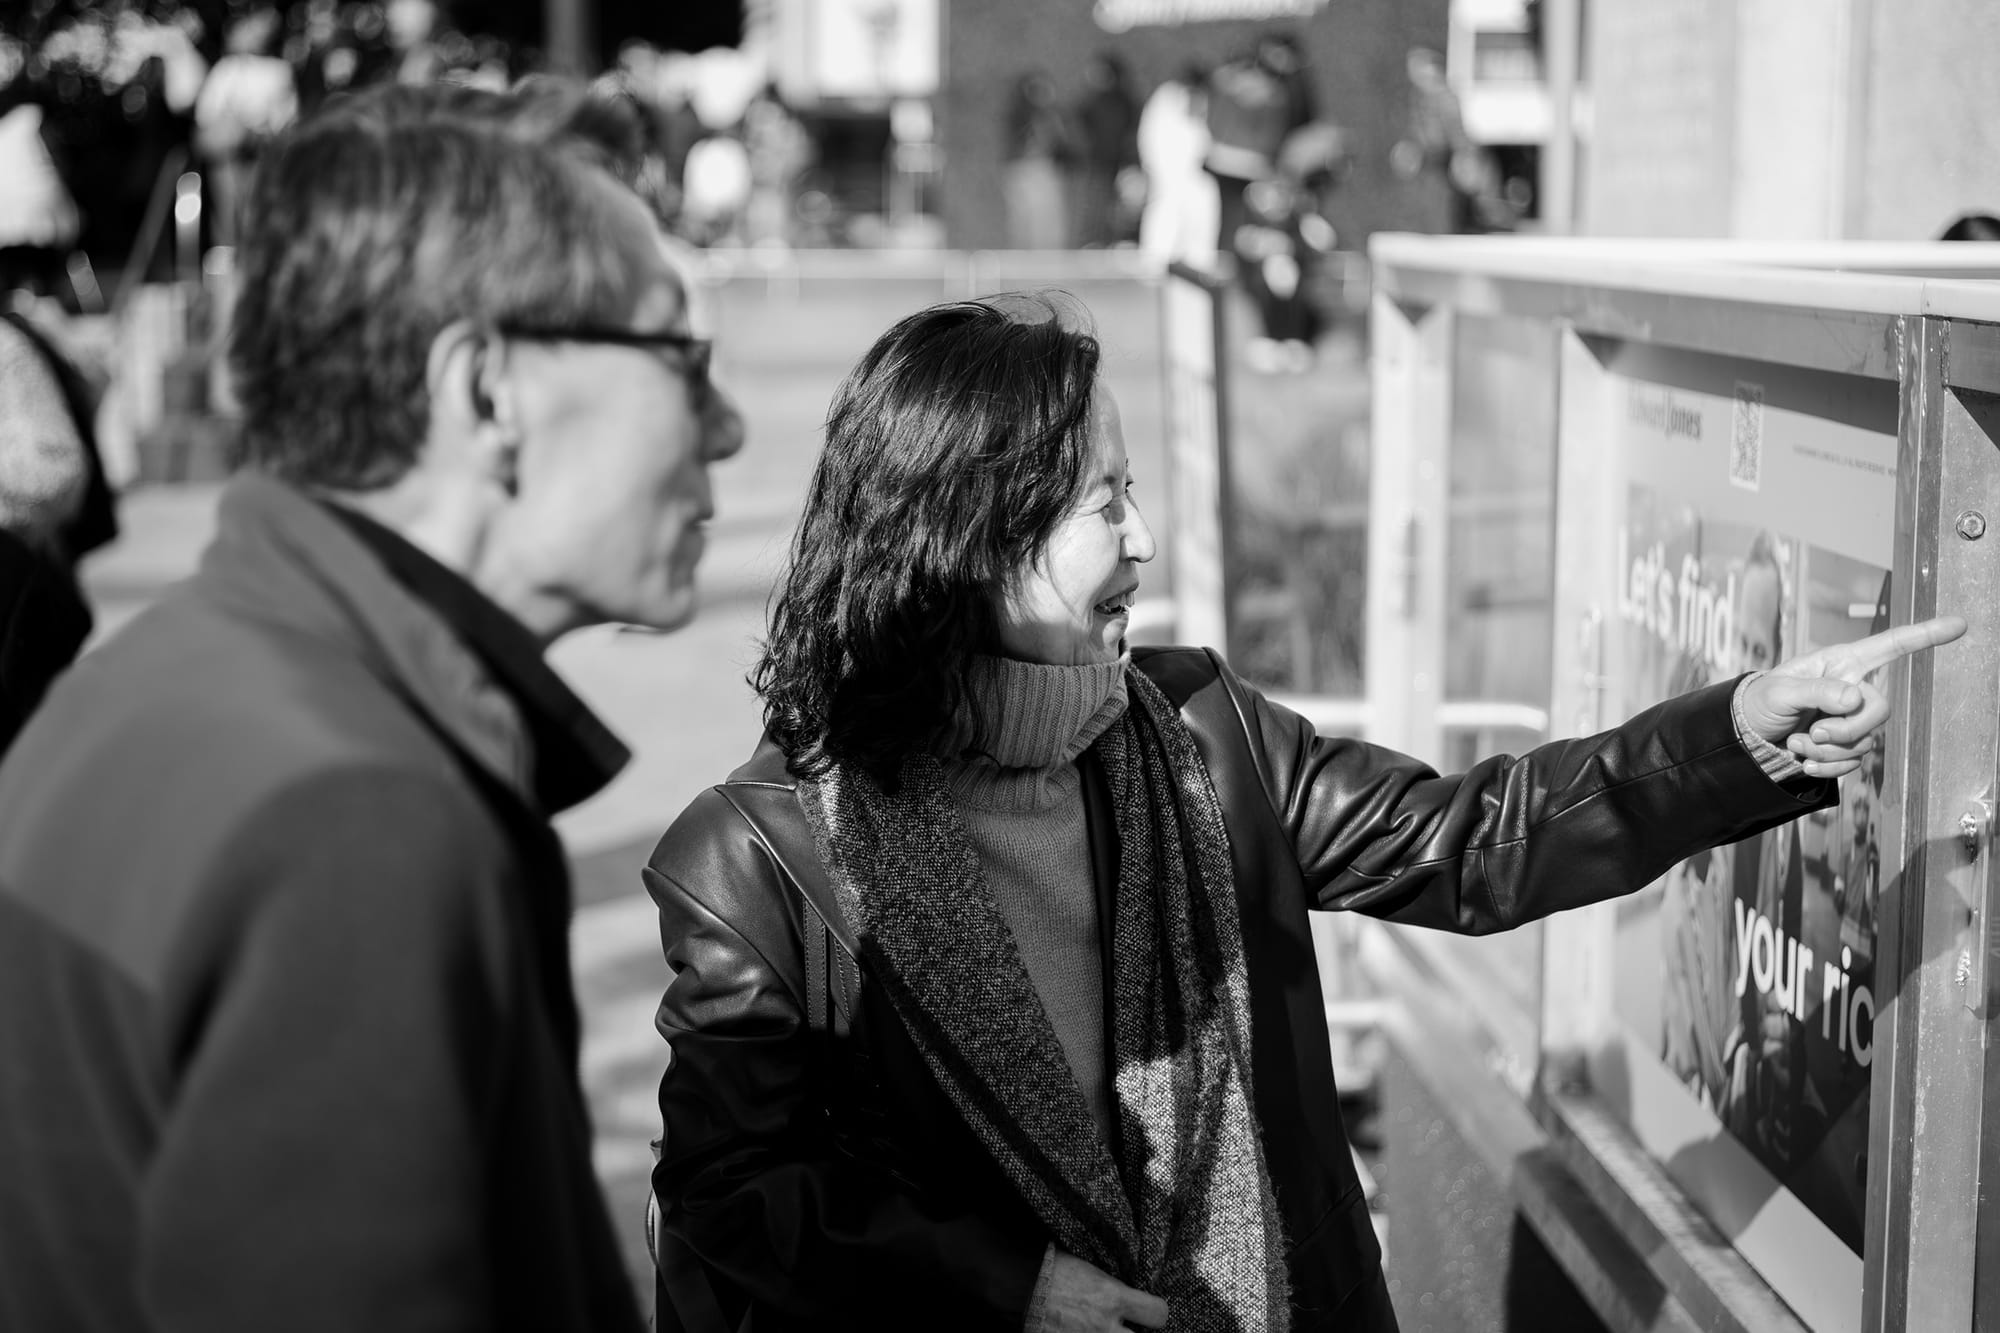
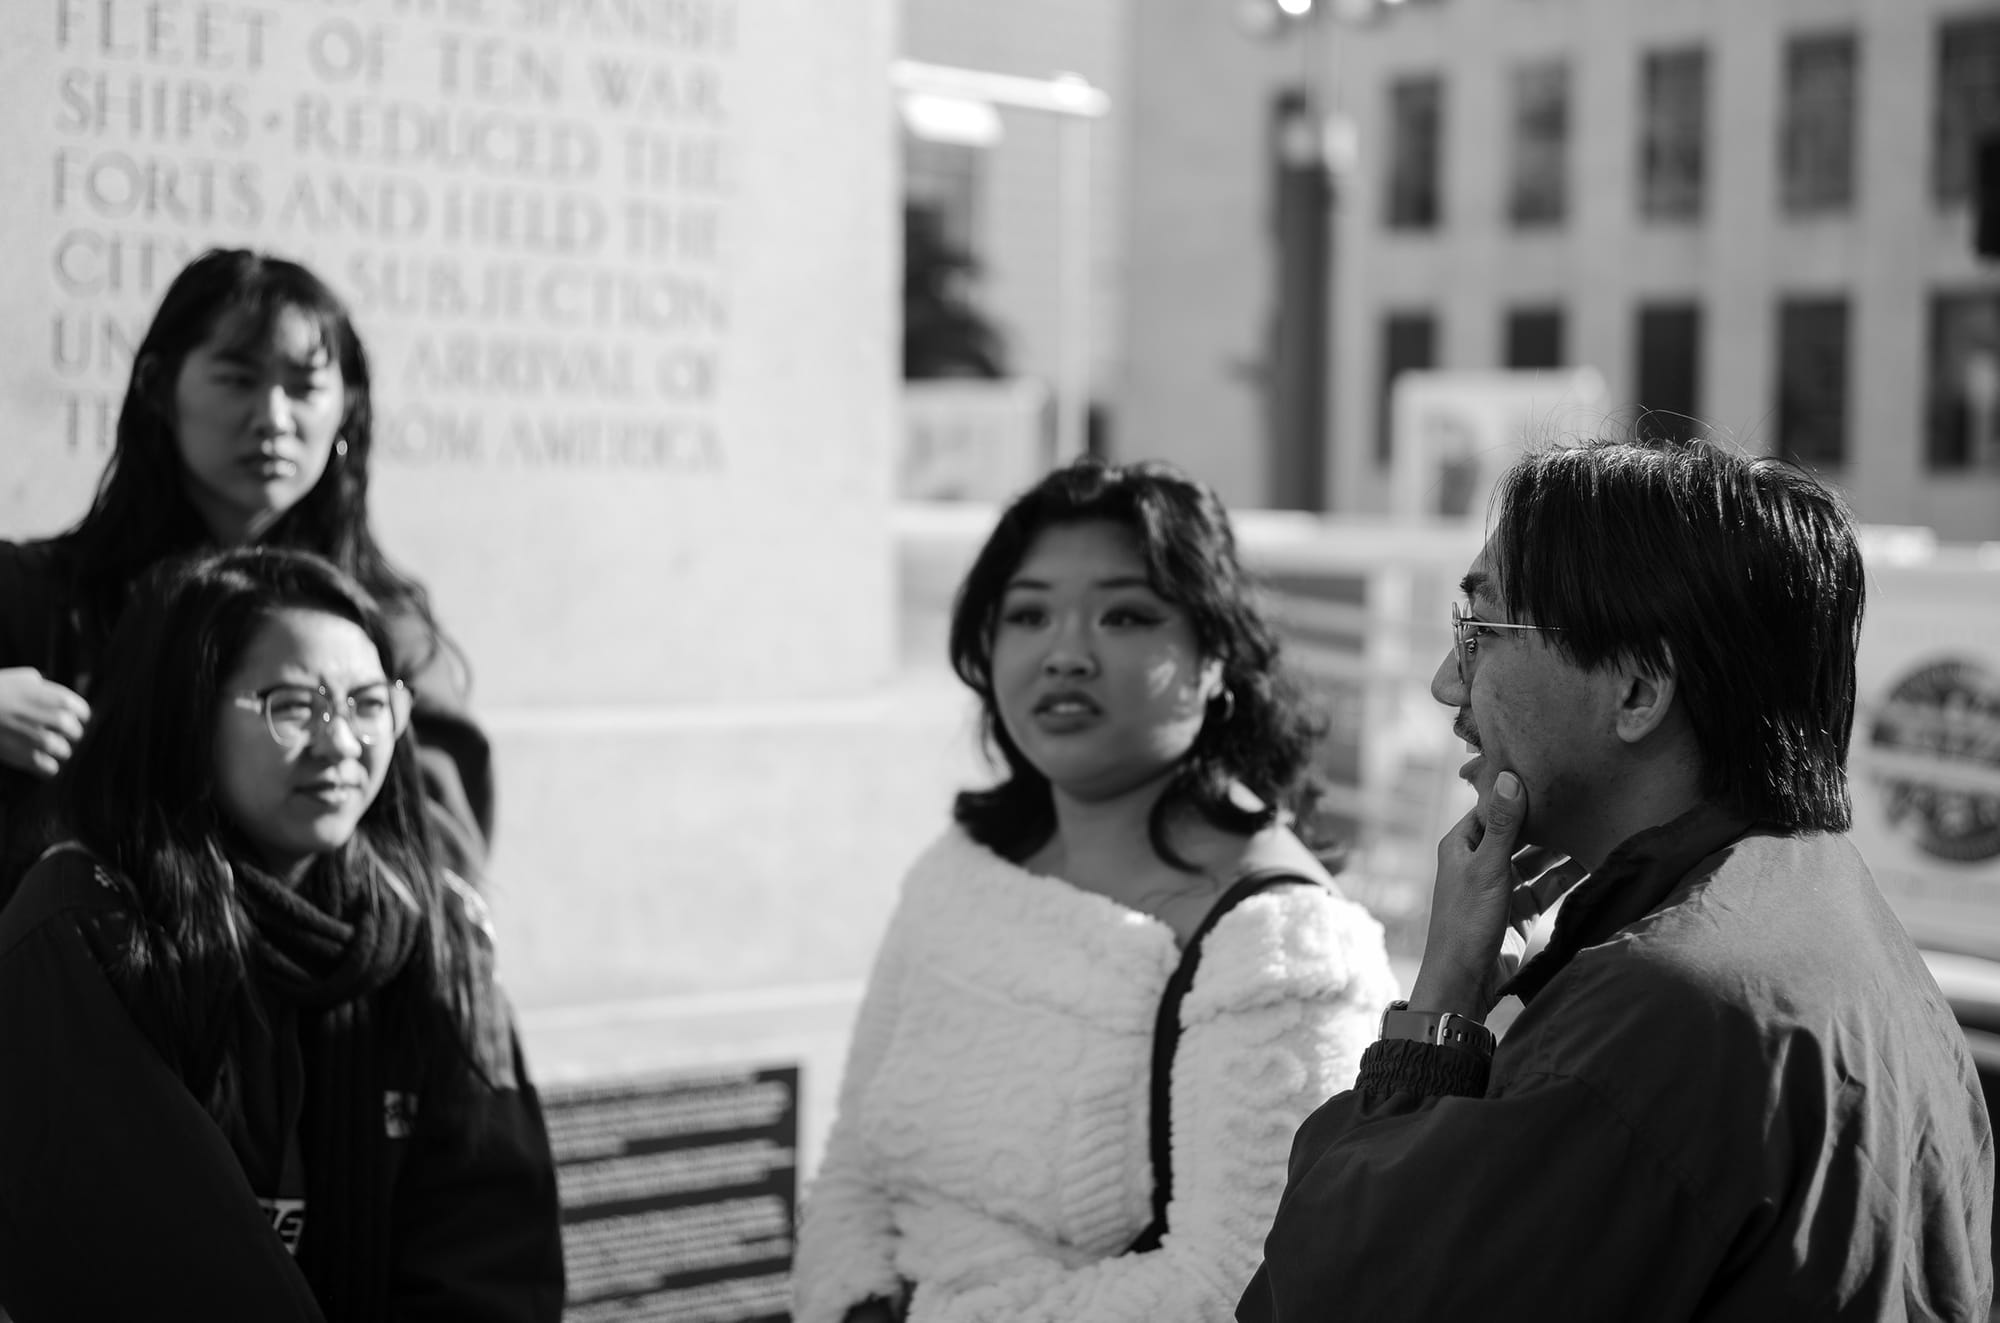
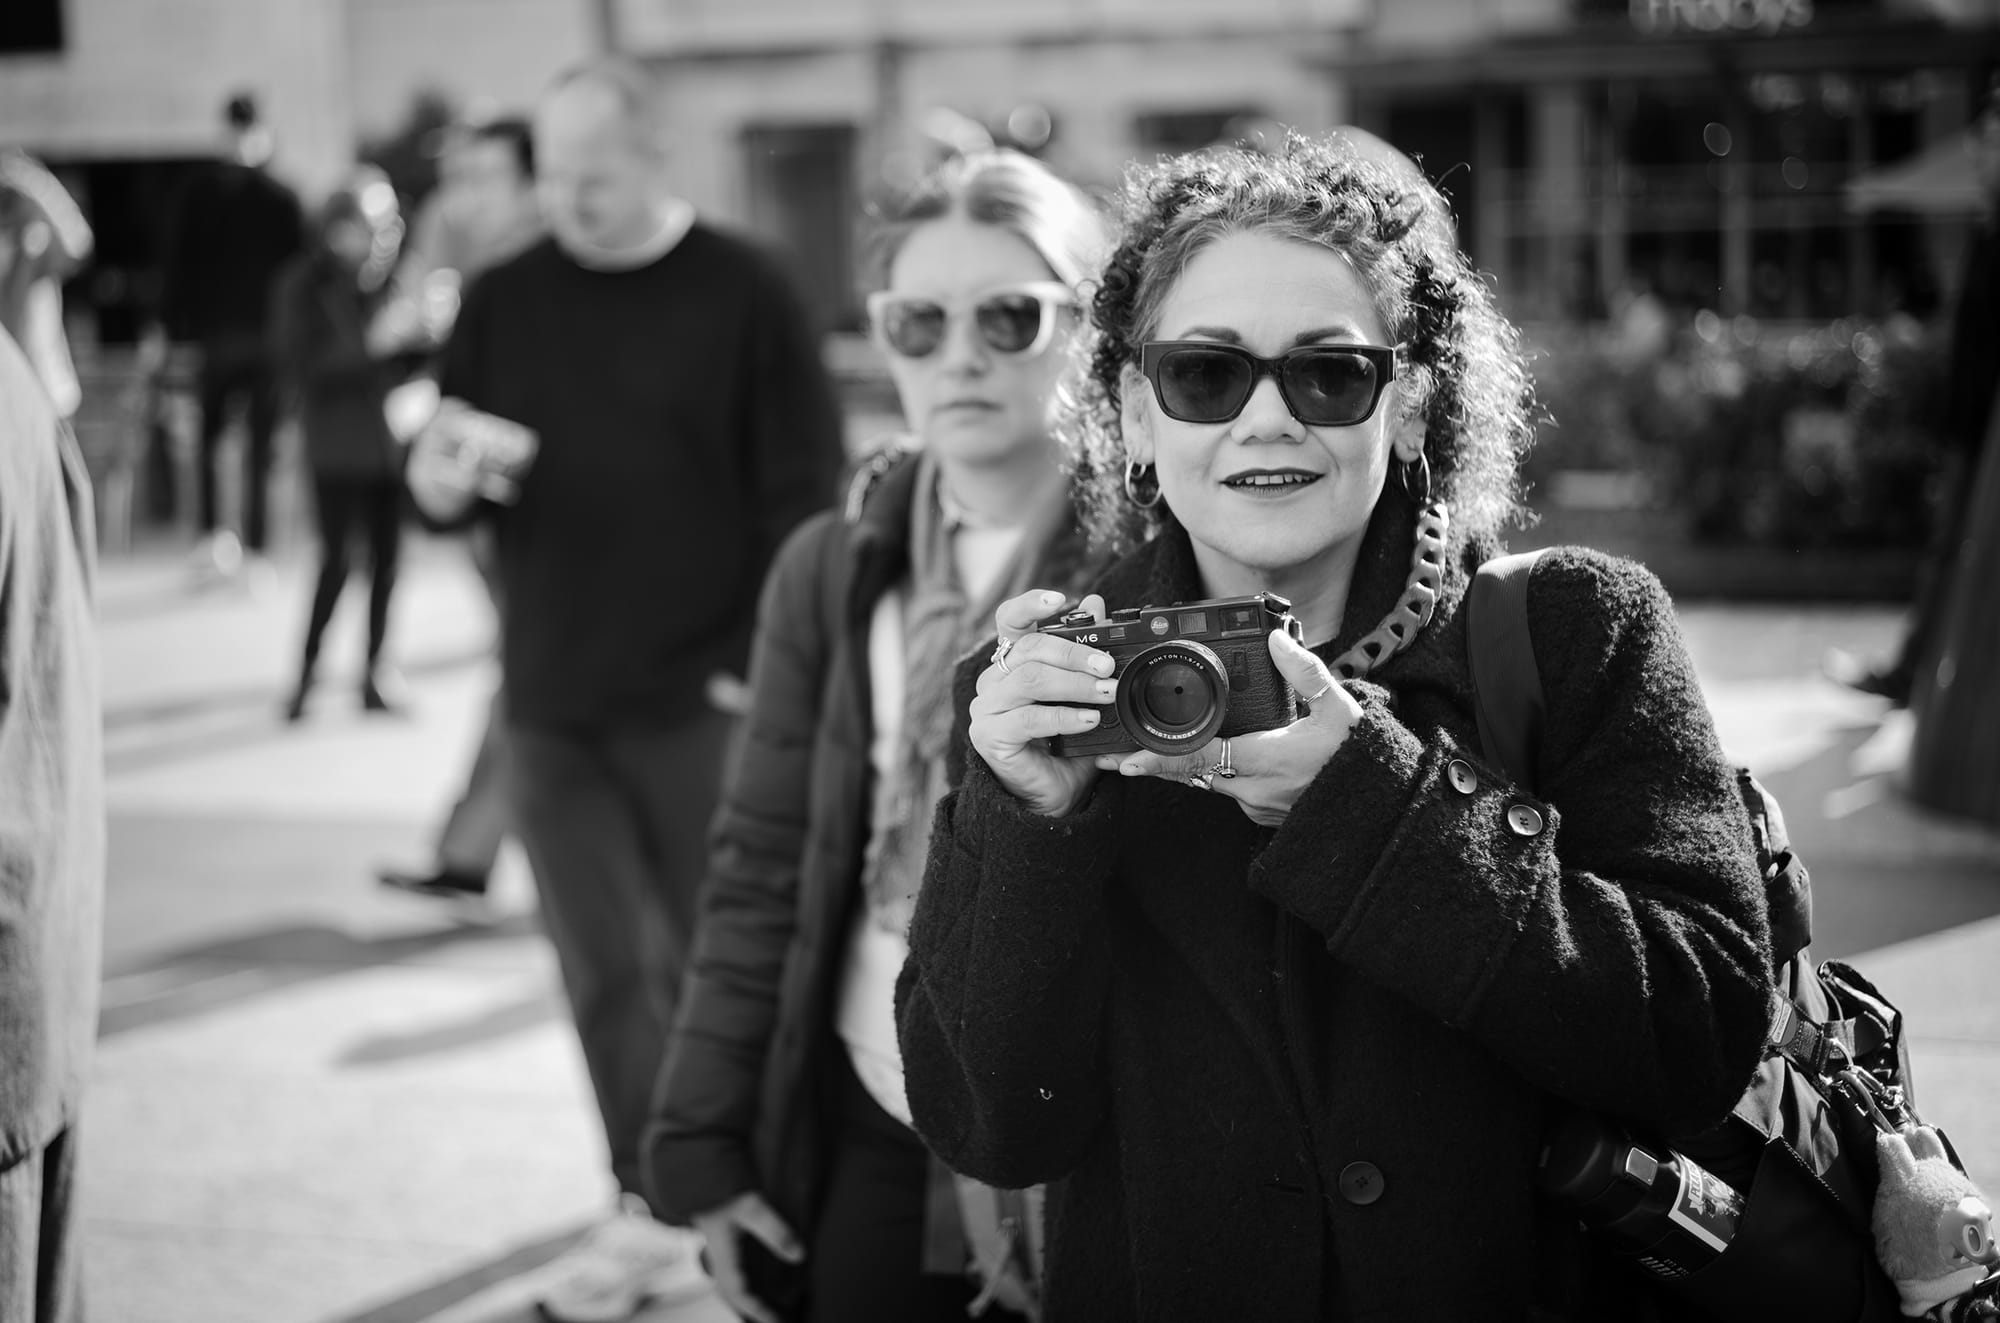
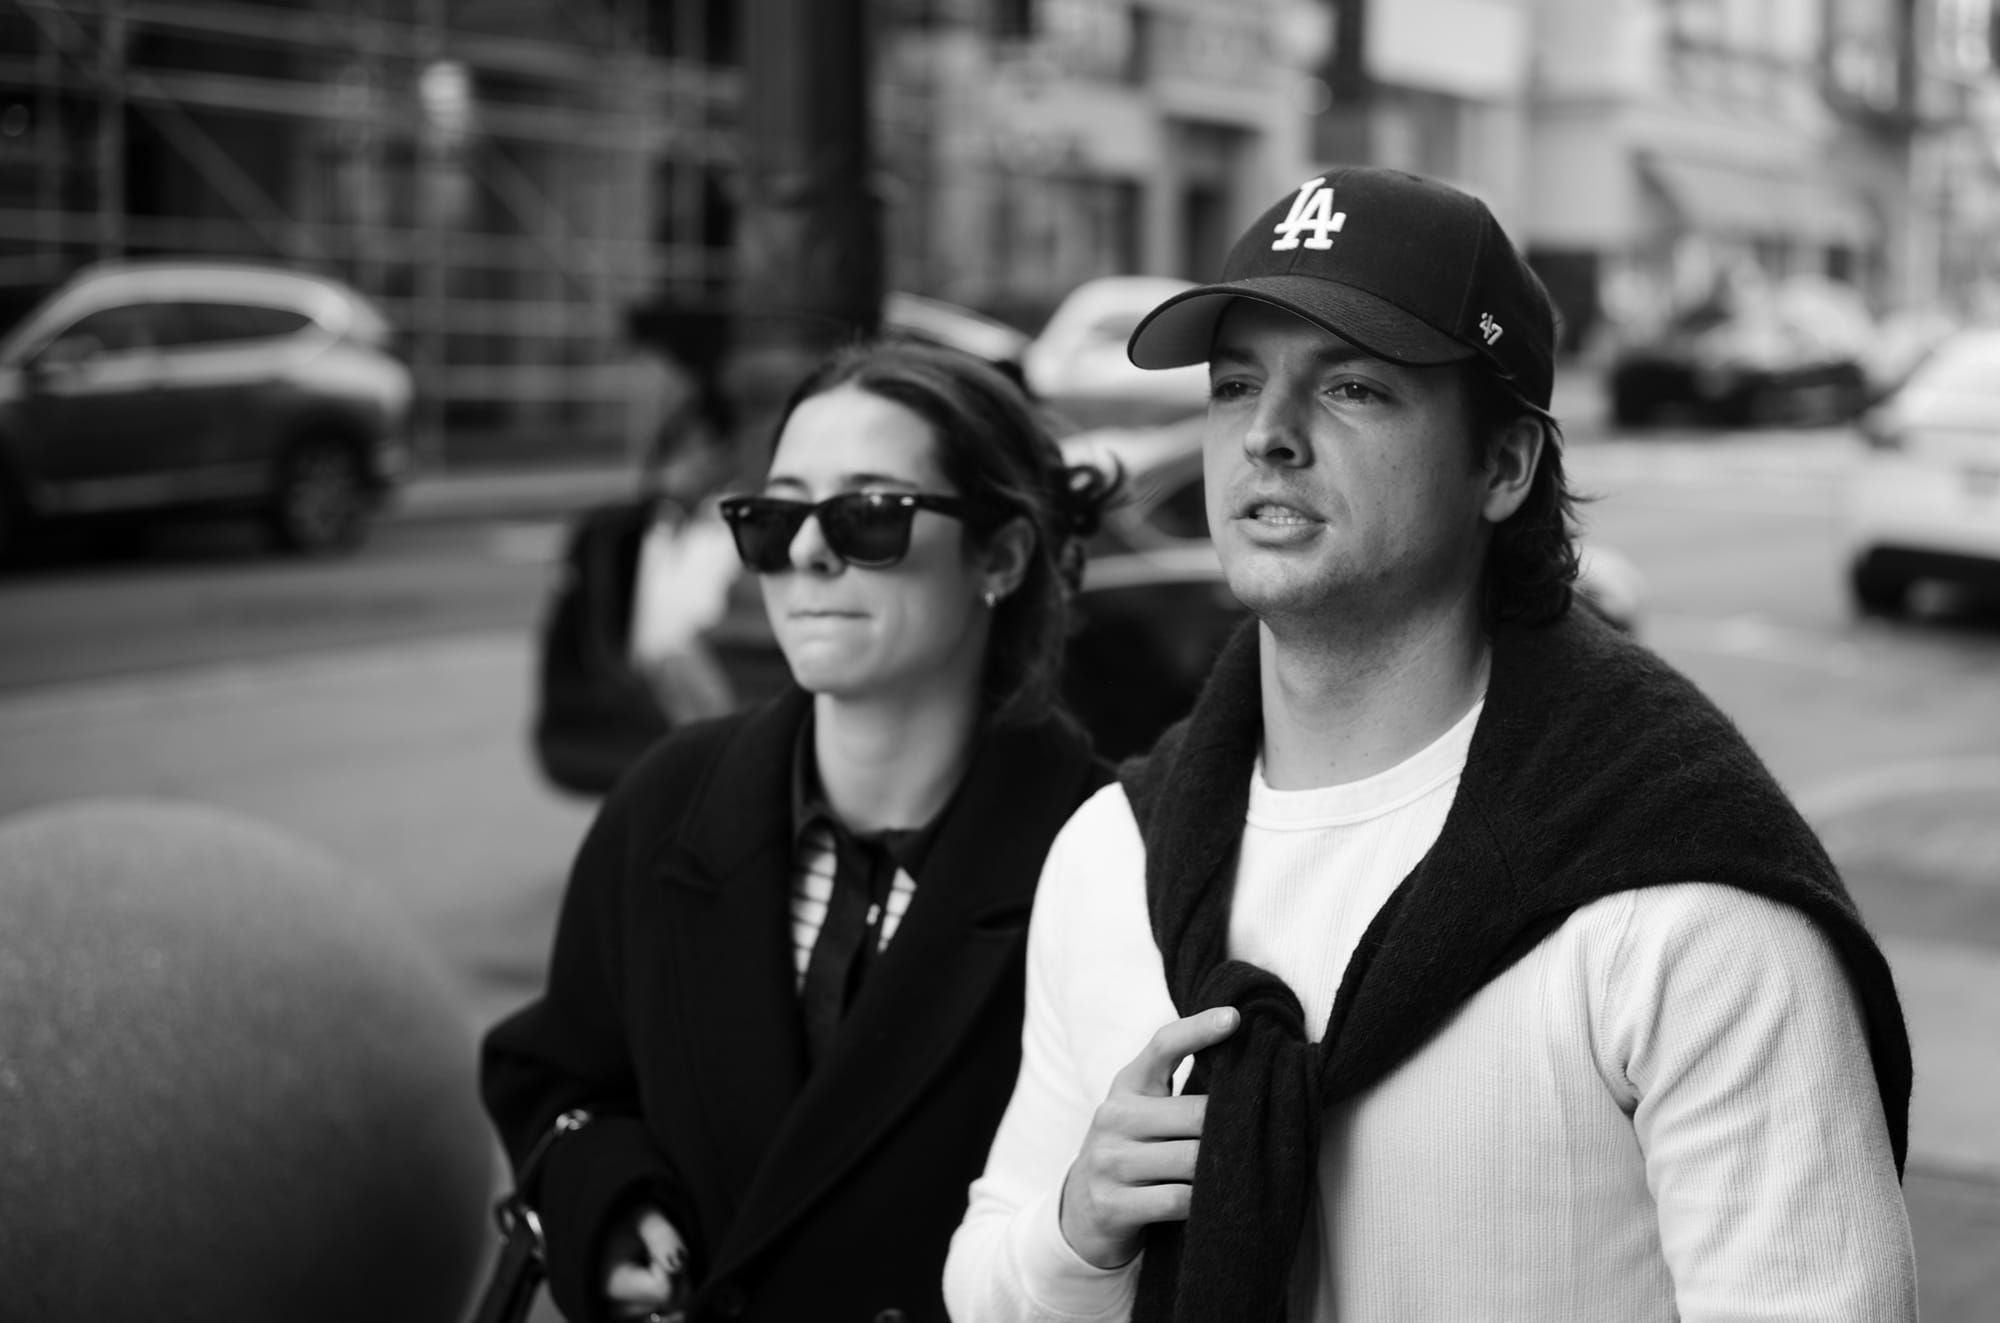
Here’s a baker’s dozen from that outing…